 |
| Types of plummet, cork and rubber bottomed and clip on. |
There are 2 types of original plummet (mentioned above), the normal cork or rubber bottomed plummet and the clip on plummet. Plummets are used by anglers to get an accurate depth reading of the venue they are fishing. Terms like “dead depth”, “over-depth” or “under-depth” are all associated with plumbing the depth of your swim, which will enable you to hopefully catch more fish!
Standard Plummet

 2. Push the point of your hook into the cork or
rubber at the bottom of the plummet. This will ensure it doesn't come
off when you retrieve.
2. Push the point of your hook into the cork or
rubber at the bottom of the plummet. This will ensure it doesn't come
off when you retrieve.
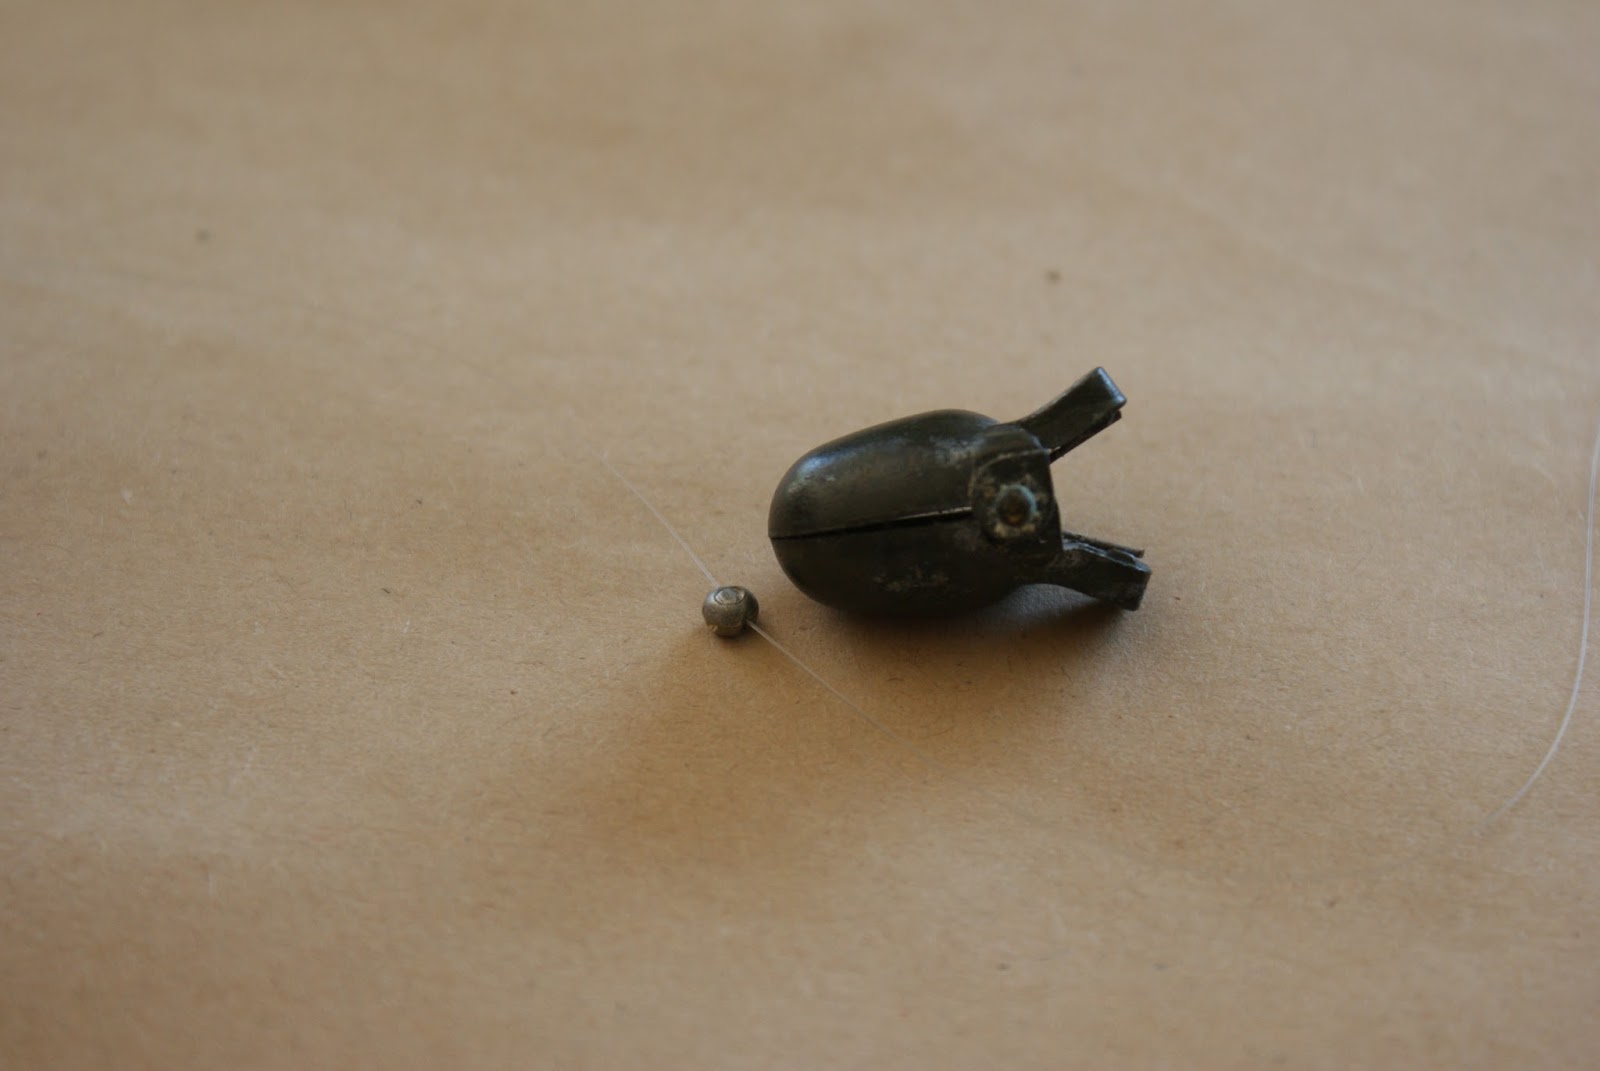
Clip on Plummet
The Clip on plummet is used when fishing over depth. The clip on plummet work exactly the same as a regular plummet, but instead of attaching the plummet to your hook, it is clipped onto a dropper shot nearest your hook. The distance between your dropper shot and the hook itself will dictate how over depth you will be fishing.
 1. Affix suitable dropper shot to you hooklength
(for the purposes of this blog I have used a shot much bigger then I
would normally)
1. Affix suitable dropper shot to you hooklength
(for the purposes of this blog I have used a shot much bigger then I
would normally)
2. Open the clip on plummet by pinching the 2 small handles on the rear end of the plummet.
 3. Affix the plummet over the dropper shot, release the handles. You are now ready to plumb your swim!
Below are both Pole and Waggler set ups at; Dead depth (exactly on the bottom), Under depth and Over depth. When plumbing the depth using a pole you would lift the pole until you feel the resistance of the plummet resting on the bottom. Then by adjusting the height of the float you set the depth.
 1. Pole float at dead depth. The plummet is resting on the bottom, and only the float tip is showing above the water.
  2. Pole float over depth. When lifting the pole resistance of the plummet is only felt after the pole comes out of the water. This means that you would be fishing over depth unless you altered the position of the float.
 3. Pole float under depth. When you have shipped out the float would be completely submerged. This means you be fishing under depth unless you changed the position of the float.
When using a waggler set up, the float will cock,
and if considerably over depth the float will lie flat on the water (otherwise it will extend out of the water like picture 2 below). By
adjusting the depth/position of the float until all you can see is the
appropriate amount of float tip will result in you fishing at dead depth
(when the float tip is submerged you are fishing under depth).
 1. Waggler at dead depth.
 2. Waggler over depth.
 3. Waggler under depth.
I hope this all makes sense, but if you have any questions or queries please do not hesitate to contact me.
0 comments:
Post a Comment